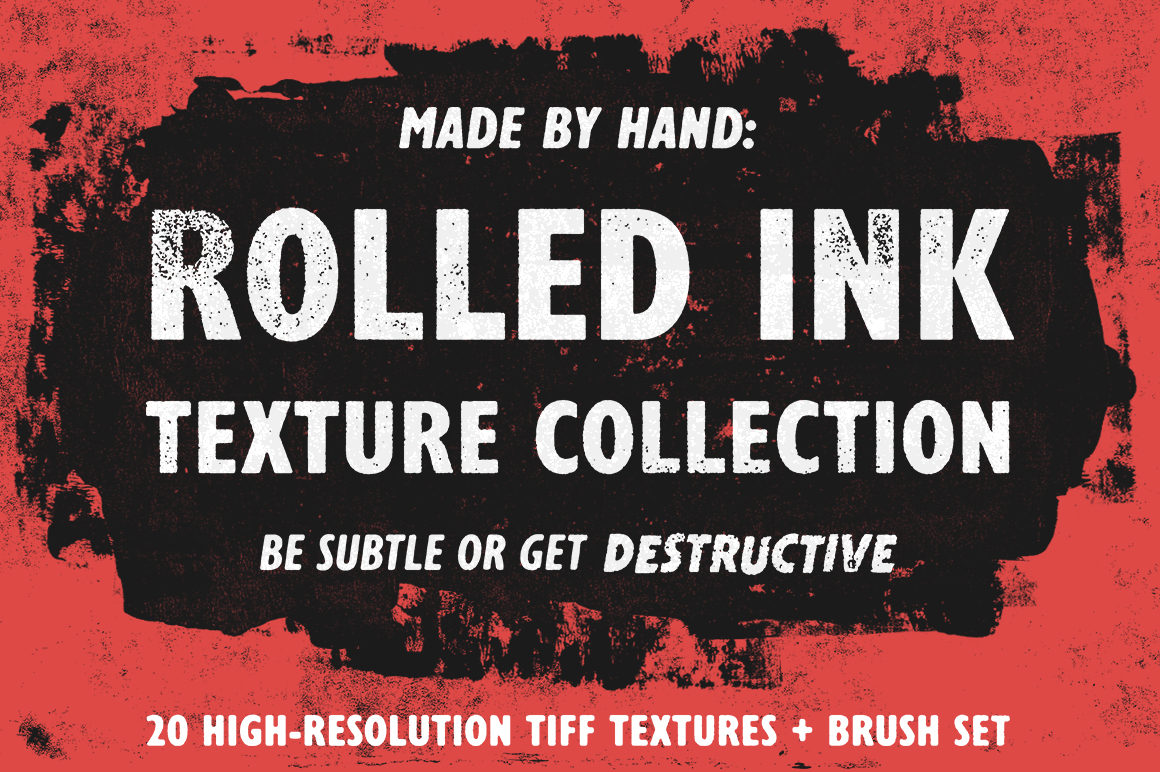
Creating custom Photoshop brushes and vector textures for your work can be a powerful way to add interest and depth to your designs. In the video above, I share how I created my one of a kind Rolled Ink Texture Collection.
The Supplies
Making your own textures can be super easy and fun. For these specific textures, here are the list of supplies I used:
- 8.5x11 Chipboard sheets: Used for rolling out the ink, and thick enough to keep the ink from bleeding through.
- 4-Inch Brayer Roller: The main tool for the job.
- Black Acrylic Paint: For making the textures – duh!
- A bunch of cheap paper: Lots of paper to roll ink on and recyclable!
The Texture Making Process
With the tools ready, glob some paint down, get that roller wet, and start making textures!
This is the super fun part. Get messy, experiment with pressure, and be aware of the textures that make you go, "Oooooo NICE!"
Give them some time to dry, and throw your favorites onto your scanner, pop-open Photoshop (or your favorite scanner app), and you'll want to scan them at a high 600 resolution. This'll grab all those good details you're looking for.
With your textures scanned and on the computer, you're free to use those as is in Photoshop. Or you can go a step further and create easy-accessible Photoshop brushes!
Making Photoshop Brushes
Currently, Photoshop brushes have a maximum size of 5000px. So to begin, create a new document: 5000px by 5000px (72 resolution).
Drop the texture in that you'd like to make into a brush and resize to fit the canvas.
Bump up the contrast by using the Levels (CMD + L). Make the whites whiter, and the blacks blacker by sliding the inputs in the Levels Window.
If you need to sharpen the texture (Optional), go up to Filter > Sharpen > Smart Sharpen. Play with it until you get a nice crisp looking texture.
To turn your texture into a Photoshop brush: go up into the top menu and select "Edit > Define Brush Preset..." Name the brush whatever you'd like, and click "OK".
Now your brush will be added into your brush manager and it's ready to be used!
What to do with your brushes?
You can use your new brushes to give subtle texture to your artwork, grunge up some illustrations using layer masks, the possibilities are endless! Or, you can create a collection of your own, and sell them on a site like Creative Market!
You can purchase the textures I made in my video here:

Hope you enjoyed this video and write-up on making textures. If you end up making your own, feel free to shoot me a link. I'd love to check them out!


