
I don’t have a photography studio or any special kits, but I wasn't going to let that get in the way of me having the product photos I wanted for my online shop.
It was an inexpensive process, because I used what I already had to my advantage. I just had to get a little creative.
Taking your own product photos is something you can easily do yourself, and that's something I'd like to share with you today, along with the process I took to take my Stay True T-Shirt product photos.
The goal of a strong product photo
A high-quality product photo for your online shop can sometimes make or break a sale for a potential customer. Since they can’t actually see or touch anything in person, a photo is a great way to communicate the qualities of your products.
Having clear photography can help you stand out online. It can also increase your chances of being shared or published in an article, which can help boost sales. A silly way of thinking about this is: you want your product photos to be Pin-worthy or Instagram-able.
The equipment
Here are the necessities you'll need to take great product photos:
- Nice digital camera
- Clean surface / backdrop
- Lighting (natural would be best)
Optional equipment:
- Photoshop / Editing software
- Tripod
- Extra lighting
Use the devices and tools you already have to your advantage. Think about the surfaces and/or materials around yourself that you could use to enhance the product photo's environment (hardwood floor, desk next to a window, etc.)
General tips for taking product photos
When it comes to taking your own product photos, here are some important tips to keep in mind and experiment with:
- Experiment with your angles and try moving around a bit.
- Use editing to your advantage: crop, color correct, adjust brightness/contrast, etc.
- Keep your products in context by showing it’s size and use: clothes on a model, artwork on a wall, etc.
- Try answering common questions: product texture, usage, how it goes with another item, etc.
My process for the Stay True T-Shirt product photos
I want two photos for my Stay True t-shirts: one to showcase the shirt itself, and the other to showcase it on a person.
For the first photo, I want to get it laying flat and isolated so that I could place whatever background I’d like behind it.
To start, I needed something vibrant enough to lay the shirt on, so that once I had the photo, I could easily extract it from the background.
I didn’t have any green screens, which is what would typically be used in this situation, so I found the next best thing I had: a neon green shirt.
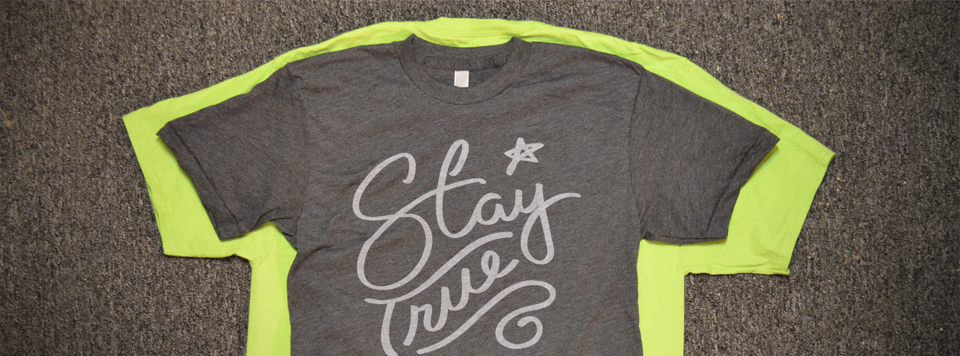
Next I set up all of the lights I had, since the room I was shooting in did not have much natural lighting.
The setup I used for the camera was just a tripod pointing my camera straight down above the two shirts.
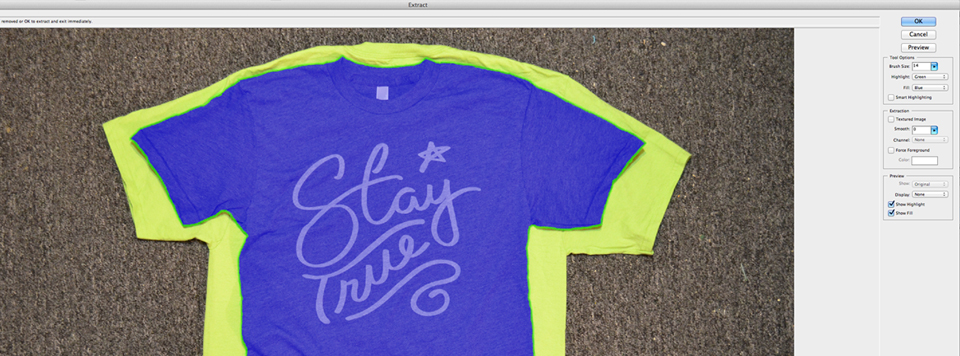
I took a few photos, then went straight to my computer and into Photoshop CS4.
In Photoshop I copy the original photo layer for safety, then use Filter > Extract on the copied layer to isolate the shirt.
The way Extract works is you outline the edge of the image you'd like isolated with the brush, then fill in the area you'd like to be extracted.
The Extract filter will then try it's best to cut out that image along the highlighted area. This works great when you have to cut out something with minor details, like frizzy hair for example.
I sometimes have to do a bit of erasing on the isolated image's edges after using Extract to get some of finer shadows that it might've made it through.
After I have the shirt isolated, I can now make some adjustments to the brightness/contrast and finalize the shirt on a background I desire.
With that relatively simple process, I get the final result I was looking for!

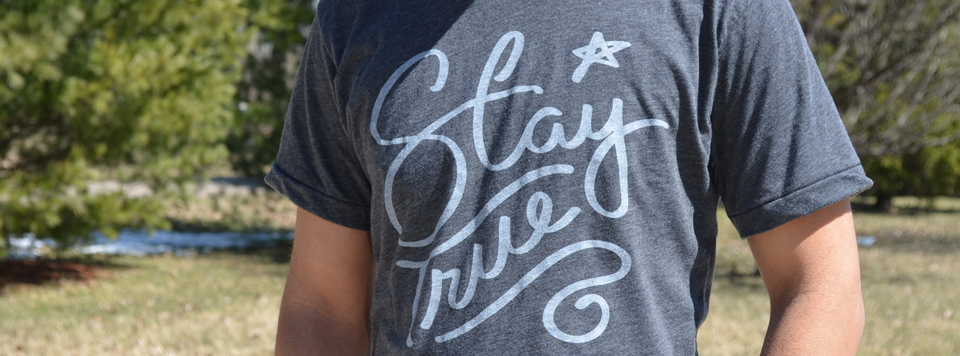
The last photo is quite simple and doesn’t need much explanation. I had my cousin throw on one of the shirts, went outside to get natural lighting, and shot some photos.
I played around with different angles (low and high), then used Photoshop to do a bit of color correcting and adjusting.
I hope this process and info can be of use to you.
I know when I was setting up my own online shop, I had no knowledge on the subject of taking product photos, so I found my own work-around to get the photos I desired with what I already had available.
Be sure to share any of your experience in the comments below, along with any questions you might have.
I'll be releasing my first ebook soon on my entire process on bringing the Stay True Project to life. You can sign-up here for updates on when that launches soon!
Sharing is the easiest way you can show your appreciation for the posts you enjoy. If you enjoyed this post, please take one second to share on your favorite social network:


