
One effect I use in Photoshop more than I can count is the Displace filter.
The Displace filter is used to map and distort an image to another. For example, you can more accurately place your artwork onto a brick wall, and really have it fall into the cracks. Most commonly, I use Displace to wrap my artwork onto t-shirts.
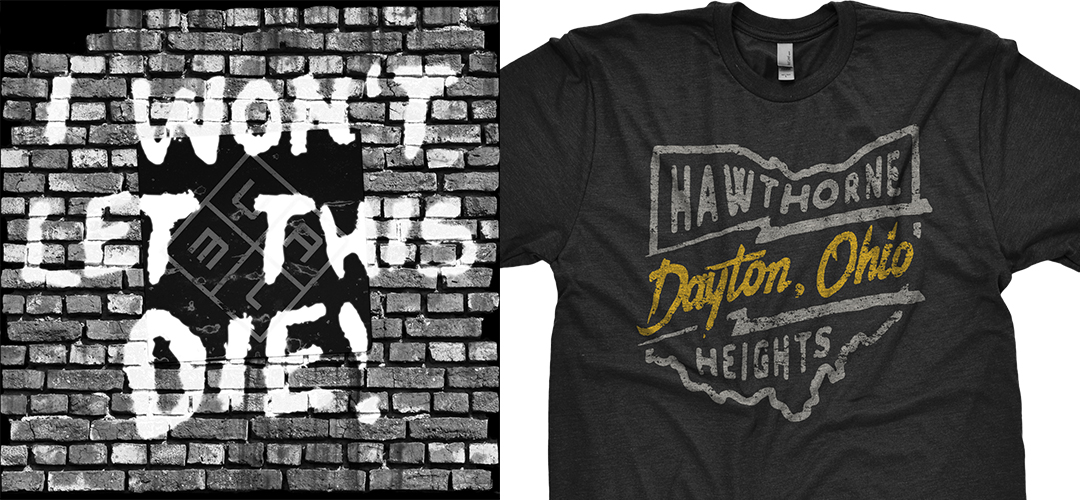
Above is a preview of a stage scrim and t-shirt I designed for the band Hawthorne Heights. Both the scrim design and the t-shirt design mockup utilize the Displace filter you're about to learn in this tutorial.
I'm going to share how to create a Displacement Map and use the Displace filter in Photoshop to realistically mockup your t-shirt designs.
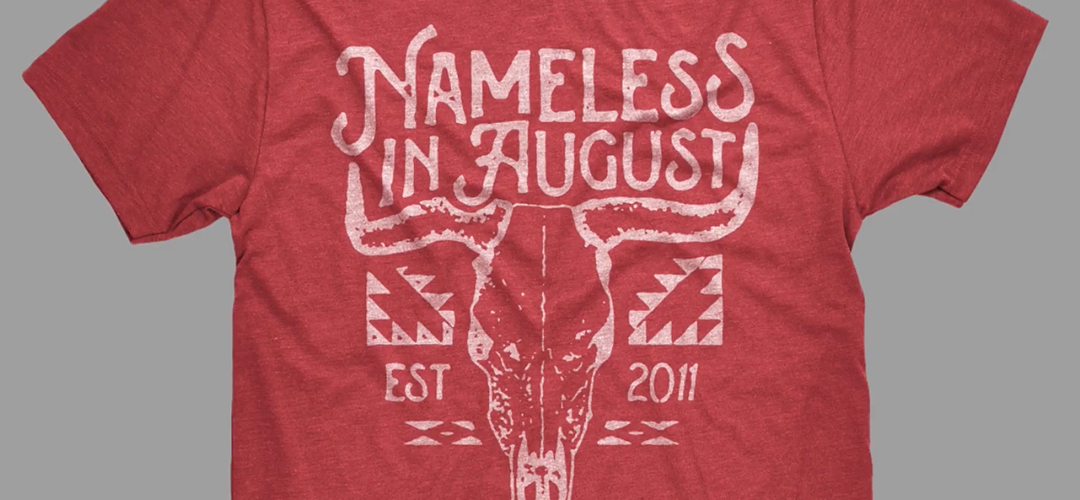
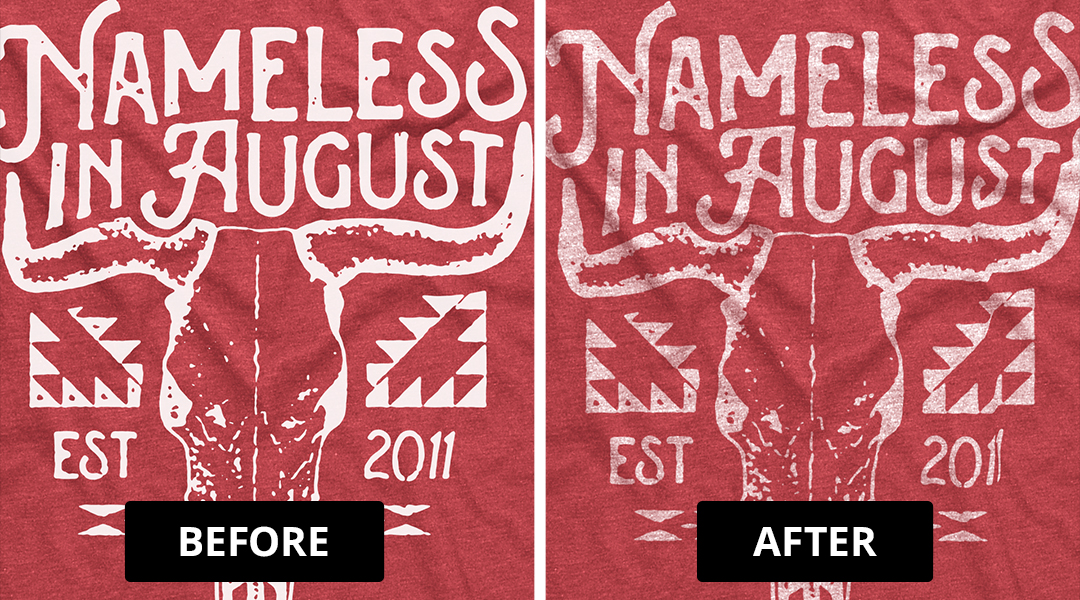
Here's the final result of a band t-shirt I recently designed. As you can see, it looks much more believable than simply pasting your artwork over a photo of a t-shirt. This helps go a long way to show what the actual design will look like on a t-shirt.
You might also notice the subtle texture of the t-shirt showing through the artwork. This is another quick-tip I'll be sharing in this tutorial.
Without further delay, let's jump into how to use the Displace filter in Photoshop.
First, in order to map our artwork onto this image of the t-shirt, we need to define what's called the Displacement Map. This is the image that'll determine how to distort the artwork.
To create the Displacement Map, click the Channels panel of the image. (Make sure any artwork is hidden on this step.)
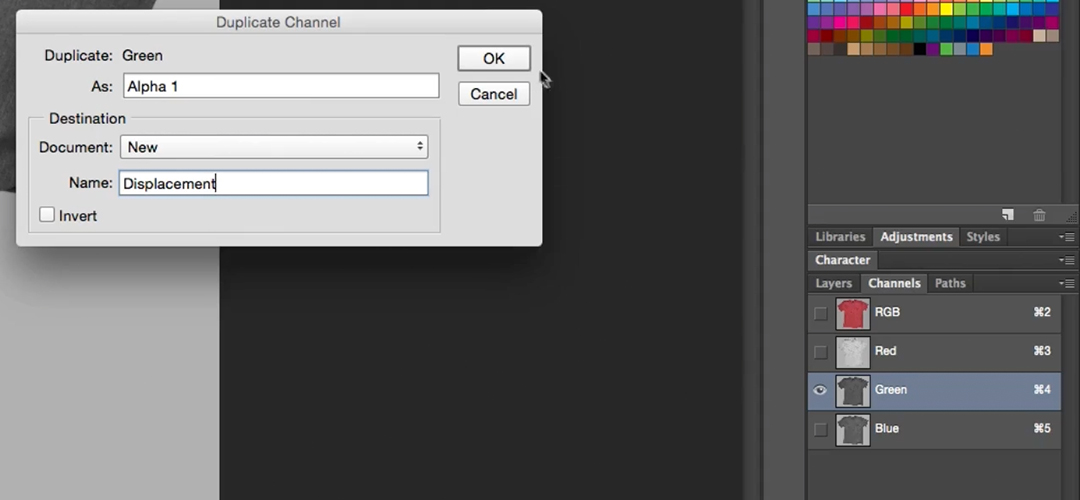
Click through the different Channels and see which has the biggest range of shadows and highlights. For this example, it's the Green Channel.
With the Channel selected, Right-Click, and Duplicate Channel...
Under Destination, Select "New", and rename the Displacement Map. This can be named whatever you'd like. For this, I'll be naming it "Displacement".
You'll notice you're now in a completely new document. This is the Displacement Map.
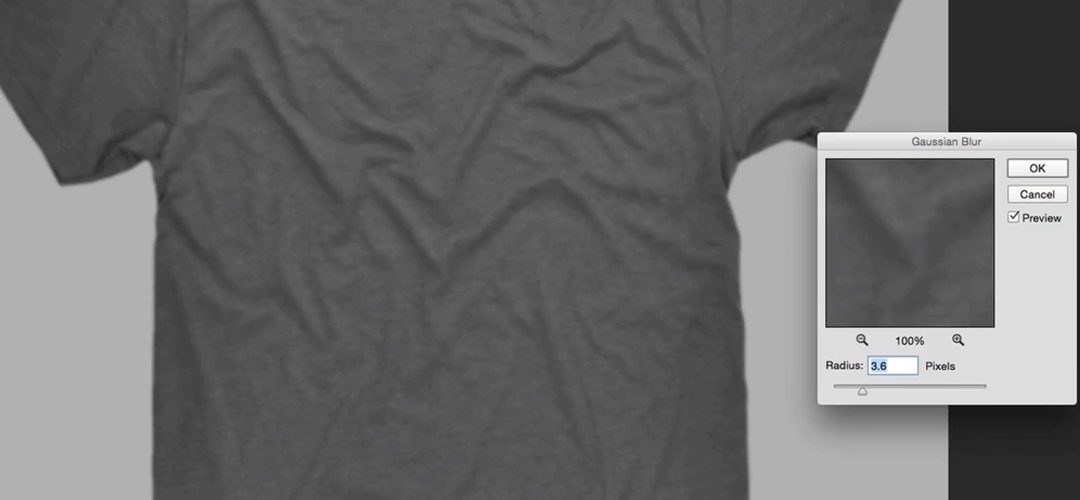
One final step is to add a blur to the image. This is so your artwork doesn't get distorted by the subtle heather texture of the shirt. So let's soften it up...
Filter > Blur > Gaussian Blur
Save the Displacement Map (in the same location as your main file.) Then Close this file.
Back in your main t-shirt mockup document, Click back into the RGB Channel, then back into your Layers panel.
The hard part is over! Now it's time to unhide or drop in your artwork and position it on the t-shirt.
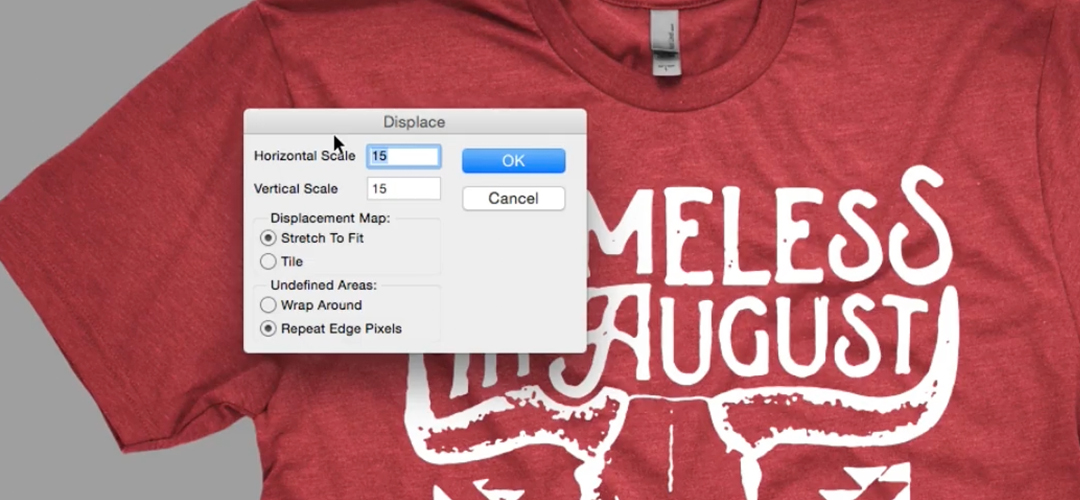
Filter > Distort > Displace...
For most images, I set the settings between 5–10. For this example, I'm using 15. The higher the number, the more drastic the distortion.
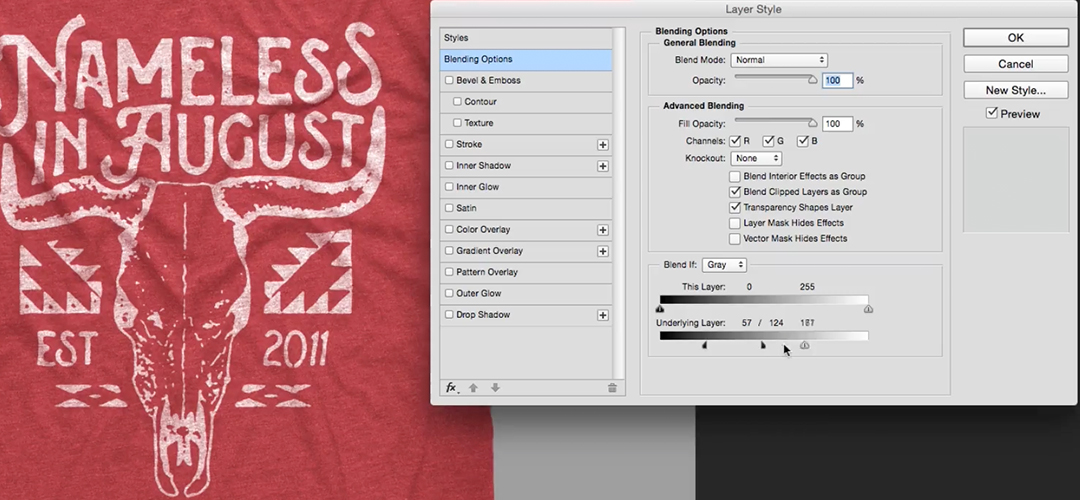
Now for the final touch. Double-Click the artwork layer to bring up the Layer Style window.
Under the Blend Options, Blend If section, drag the slider for the Underlying Layer.
Hold the Option key to split the sliders and really fine-tune the blend settings.
This takes the current layer (your artwork), and blends it with the shadows and highlights underneath it. This is the advanced way to blending images. Most people will just use Opacity, but this is my little secret to making my mockups look great!
And there you have it!
These are the basics to how to create your own Displacement Maps and how to realistically map your designs to a t-shirt mockup.
If you liked this tutorial and want to see more videos and posts like this, let me know in the comments below!


